In high-performance electronics, everything rides on the quality of your connections. If the joint fails, the product fails; it’s that simple.
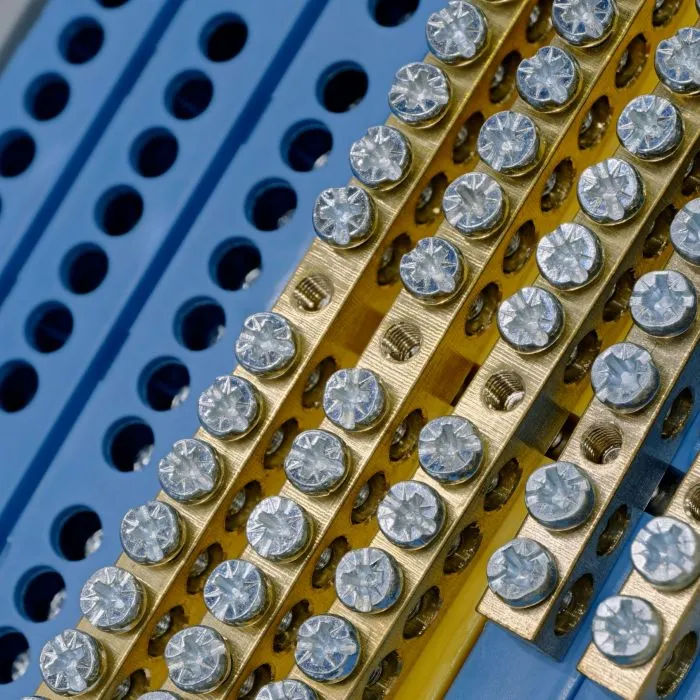
One component that quietly does the heavy lifting? The solder lug terminal connector. It might look like a basic part, but when the amps rise, and the stakes are high, this little connector has to perform flawlessly.
If you’re working in electronic manufacturing or sourcing for an industrial project, here’s what you need to know about using solder lug terminals the right way, plus how to avoid the mistakes that trip up even experienced teams.
Why solder lug terminal connectors still matter
There are engineers who will swear to you that crimped connections are the way to go. Others are all-in on plug-and-play modules. But in the context of high-temperature, high-current environments, a well-soldered lug joint still remains among the strongest and lowest-resistance connections possible.
You can find solder lug terminals on the backs of aerospace control panel switches, automotive modules, hard-wired power supplies, and heavy-duty circuit boards. They’re especially valuable when:
- High vibration makes crimp connectors unreliable
- You need a permanent, tamper-resistant bond
- There’s limited space, and direct soldering gives more control
But here’s the catch: the benefits only show up when the soldering and sourcing are done right.
Best Practice #1: Don’t rush the prep
The strength of a terminal lug solder joint depends on surface prep. Period.
Before soldering, clean both the lug and the wire with isopropyl alcohol or an appropriate contact cleaner. Any oxidation, grease, or dirt will block solder flow and create unreliable joints.
Once the metal’s clean, make sure your wire is stripped to the right length and twisted tightly. A frayed wire won’t sit cleanly in the terminal, and that increases your resistance.
Think Robotics has a detailed guide on how soldering temperature and cleanliness affect joint integrity.
Best Practice #2: Match the terminal to your wire gauge
It’s an easy detail to overlook, but using the wrong size solder lug terminal for your wire gauge can lead to:
- Loose connections
- Poor conductivity
- Mechanical stress and eventual failure
When flexibility is the key, Zierick’s 582-Long solder lug terminal connector is one of the best bets. It fits multiple wire gauges and provides stable mounting for PCBs, even in tight layouts.
Before sourcing, double-check compatibility. A terminal lug solder point that looks “close enough” can still lead to rework—or worse, product failure in the field.
Best Practice #3: Watch your technique
When soldering a terminal lug, your goal is a clean, mechanically strong joint with smooth flow.
Avoid these common errors:
- Cold joints: Caused by insufficient heat. They look dull and grainy, and they break.
- Overheating: Can damage the insulation or PCB itself. If it smells burned, it probably is.
- Movement during cooling: Even a slight nudge can weaken the bond. Use a third-hand tool or jig when possible.
The key is to heat the lug and wire evenly, then feed in solder, not the other way around. Let it wick naturally into the joint. You’re aiming for a concave, shiny finish that covers the terminal and wire end without blobs.
Best Practice #4: Don’t ignore material specs
In high-performance applications, the material of your solder lug terminal connector matters just as much as the method.
Look for terminals with:
- Corrosion-resistant tin or nickel plating
- Uniform wall thickness for even current flow
- A base which will not warp while mounted
Zierick’s terminals are intended for use in industrial environments. They’re made with consistent specifications, reliable documentation, and tolerances that stand up to vibration and heat.
If you are building for defense, medical, or automotive industries, don’t settle for generic. You need measurable components supported by traceable data.
Best Practice #5: Think beyond the joint
Where and how you mount a terminal lug affects everything downstream. Stress points, heat dissipation, board integrity…it’s all connected.
Ask yourself:
- Is the lug mechanically supported, or is it floating?
- Will there be vibration that could weaken the solder over time?
- Are there enough reliefs or support features in the PCB?
In many cases, pairing your lug with PCB mounting hardware adds long-term stability. That’s especially true in high-current or high-density builds where there’s no room for error.
FAQs about solder lug terminals
Q: Can I reuse a solder lug terminal after desoldering?
A: Technically, yes. Practically? No. The metal weakens with heat cycling, and the risk of failure increases. Always use a fresh terminal for production builds.
Q: Which is better, a solder lug terminal connector or a crimp connection?
A: It depends. Crimping is faster and less heat-dependent, but solder lugs provide a more reliable bond in high-vibration and high-current applications.
Q: Do I need to use flux?
A: Yes. Flux cleans the joint better, wets more fully, and reduces the risk of cold solder joints. Just make sure to wipe off any remaining gunk when it’s over.
Q: How to tell if my solder joint is good?
A: It’ll be shiny, smooth, and slightly concave. If it’s dull, scratched, or pitted, replace it.
For rugged reliability, every joint counts
Solder lug terminal connectors may seem like small parts—but the strength of your entire system depends on the weakest link. And when the job involves high-current, mission-critical performance, the margin for error disappears fast.
So take your time. When you select the correct solder lug terminal for your wire gauge and use the proper technique for the lug solder, the result is a connection you can count on. It’s worth it.
Require a connector capable of getting the job done?
Zierick’s 582-Long solder lug terminal is trusted by engineers for a reason. It performs when you’re up against demands, and it’s supported by a team who knows that every minute counts from first spec to final approval.
Questions about sourcing, specs, or board compatibility? Reach out. We want to make sure your build is solid as a rock, starting with the lug!